Hi Stitchers!
Ive been a little MIA on the blog front at the moment.. few reasons – Holidays and Frocktober (check out insta)!
Trying to organise the wardrobe and get some frocks sorted for Frocktober, I’ve been doing a few adjustments here and there (love fixing and adjusting) to recreate dresses.
I wanted to share some really quick and easy adjustments anyone can do (seriously). You know that dress sitting in your wardrobe that you know you’ll never wear again? Why not adjust it into something wearable? Nothing to lose, right? Promise I’ll share a few of these throughout the month.
Adjust and remake has always been my motto. So, when there was an African Gala Dinner coming up (and I already had one failed attempt at a skirt – I’ll share this with you another time) I decided to chop the dress I wore as a bridesmaid to my Bro’s wedding. My Mum actually made this dress, btw – she’s the best seamstress I know.
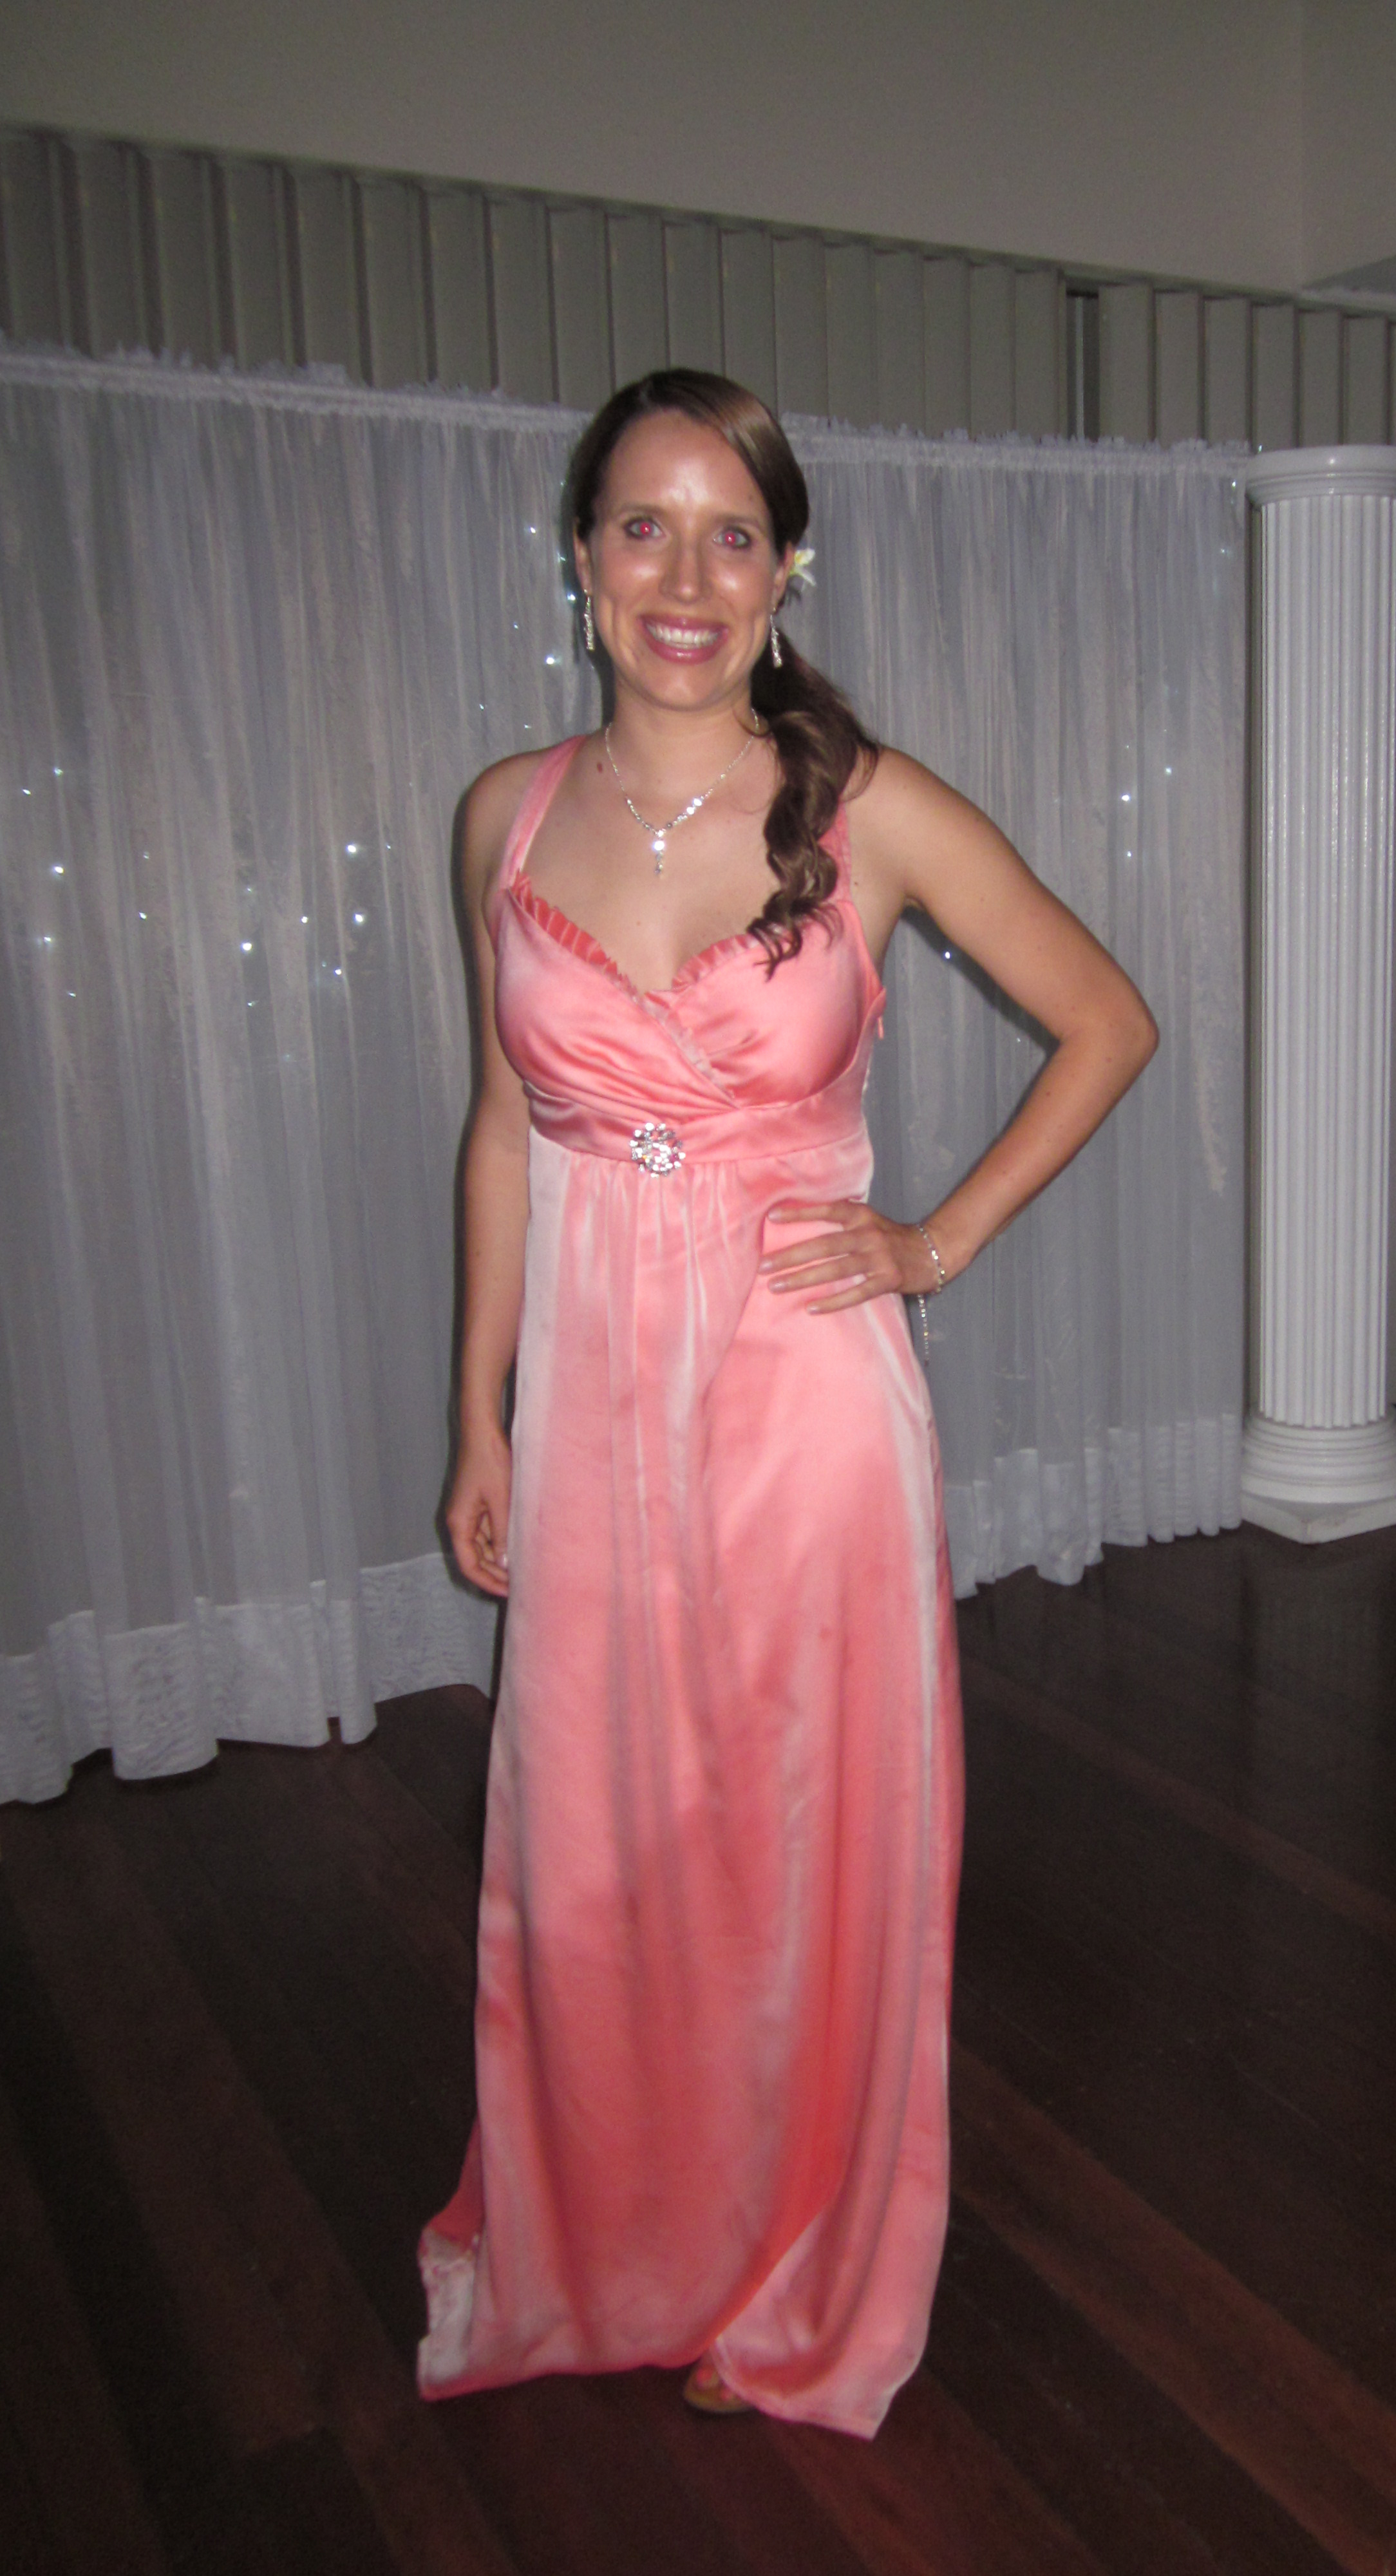
So, here’s a crazy before pic from the archives:
Here’s what I did to bring it back to life. Step 1:

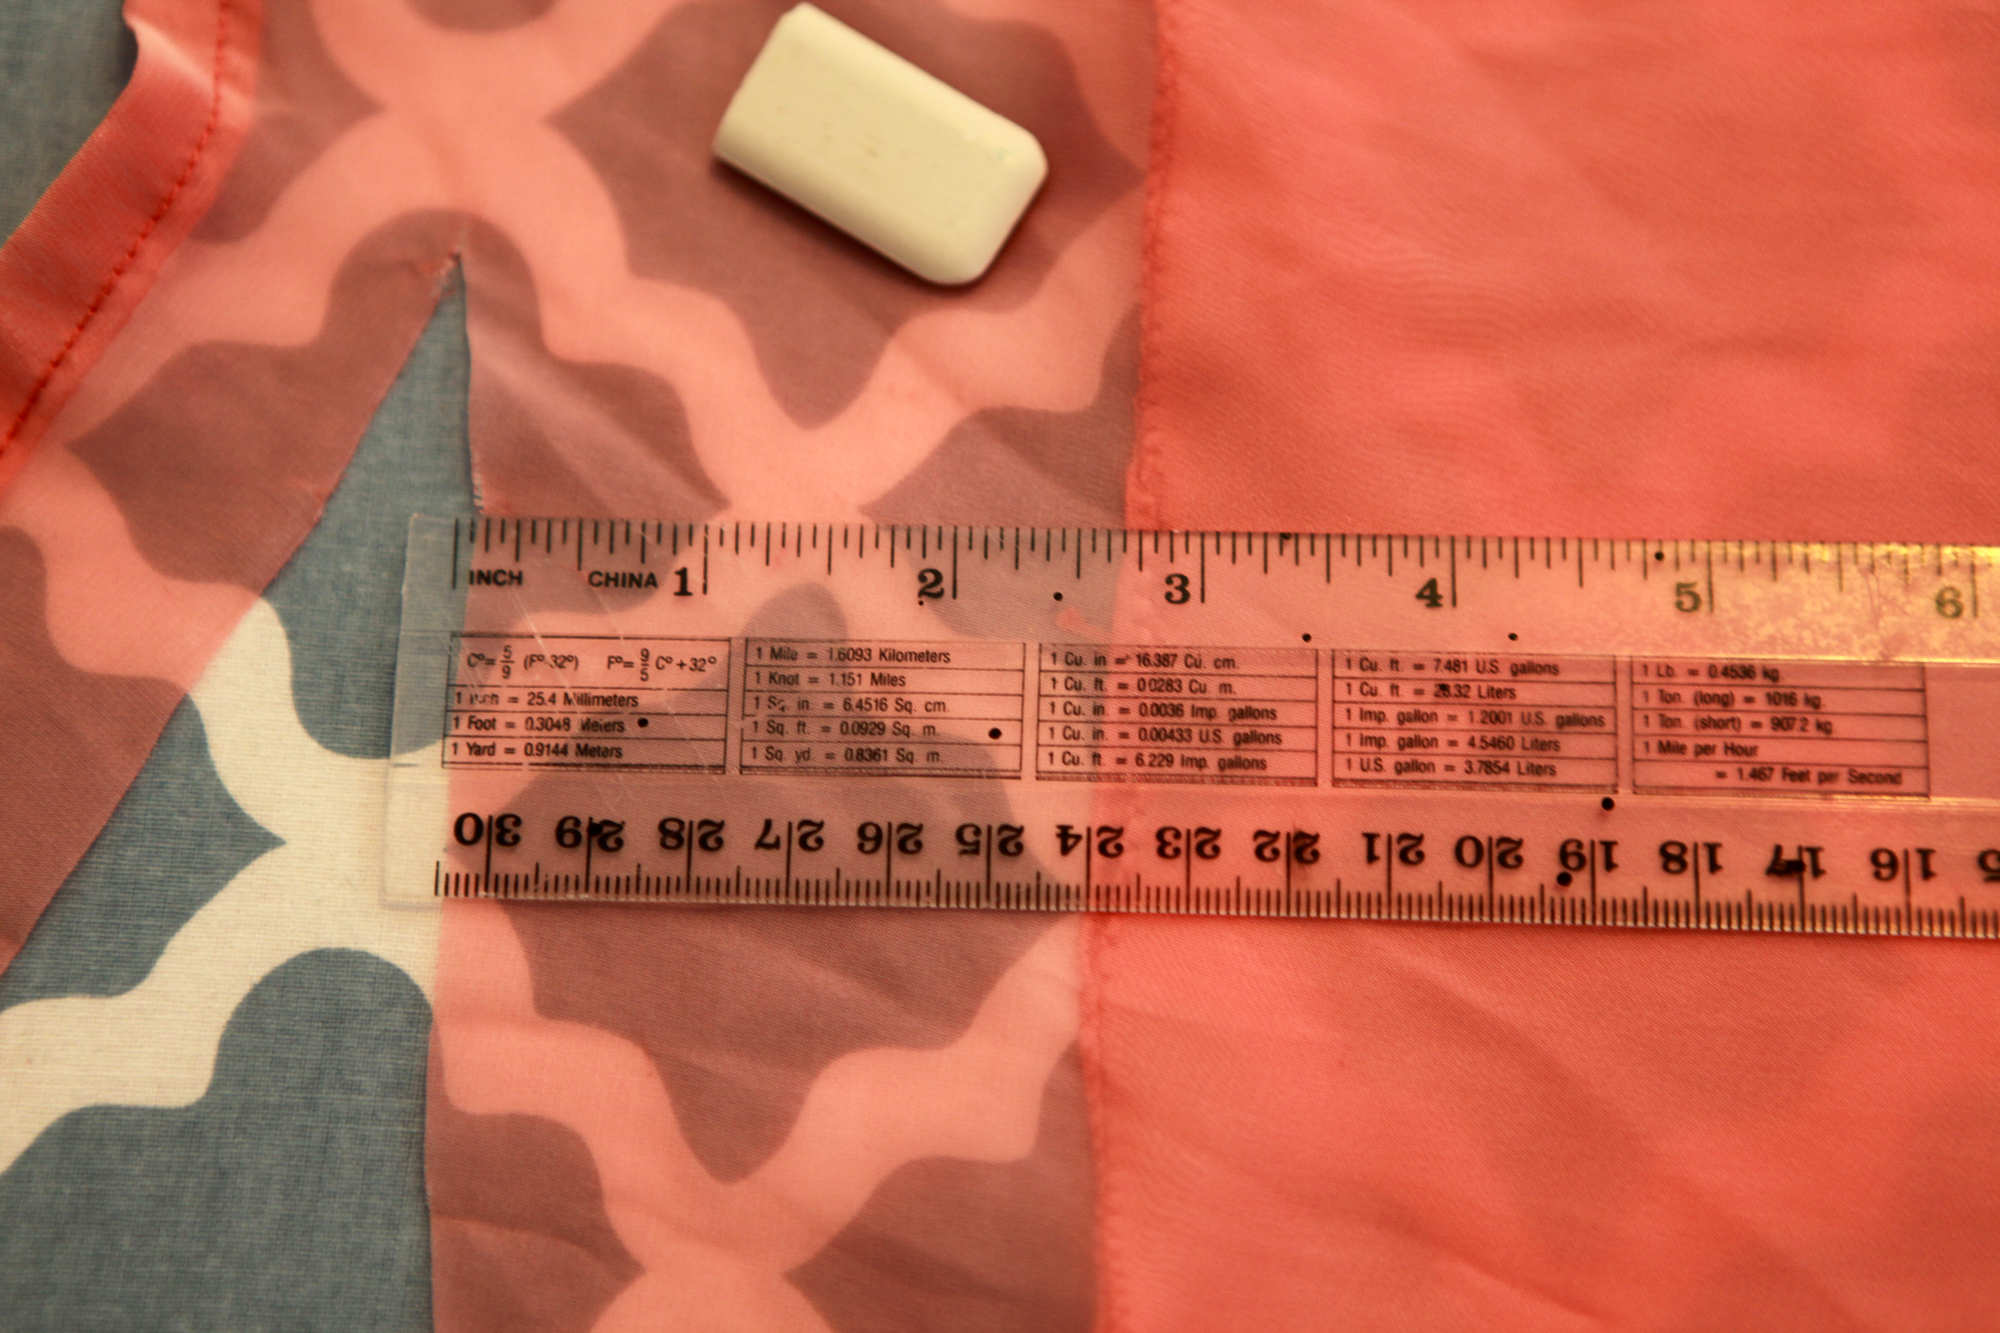
I chopped above the waist, right under the boobs, and seamed the top. When I tested the size out – the top of the skirt piece fell straight to the perfect height on my waist – so no adjustments would need to be made.
Note: Here, the zip needed to be unzipped and not chopped off, as it still needs to be used.
Step 2: Get up off that thing, and sew till you feel better!
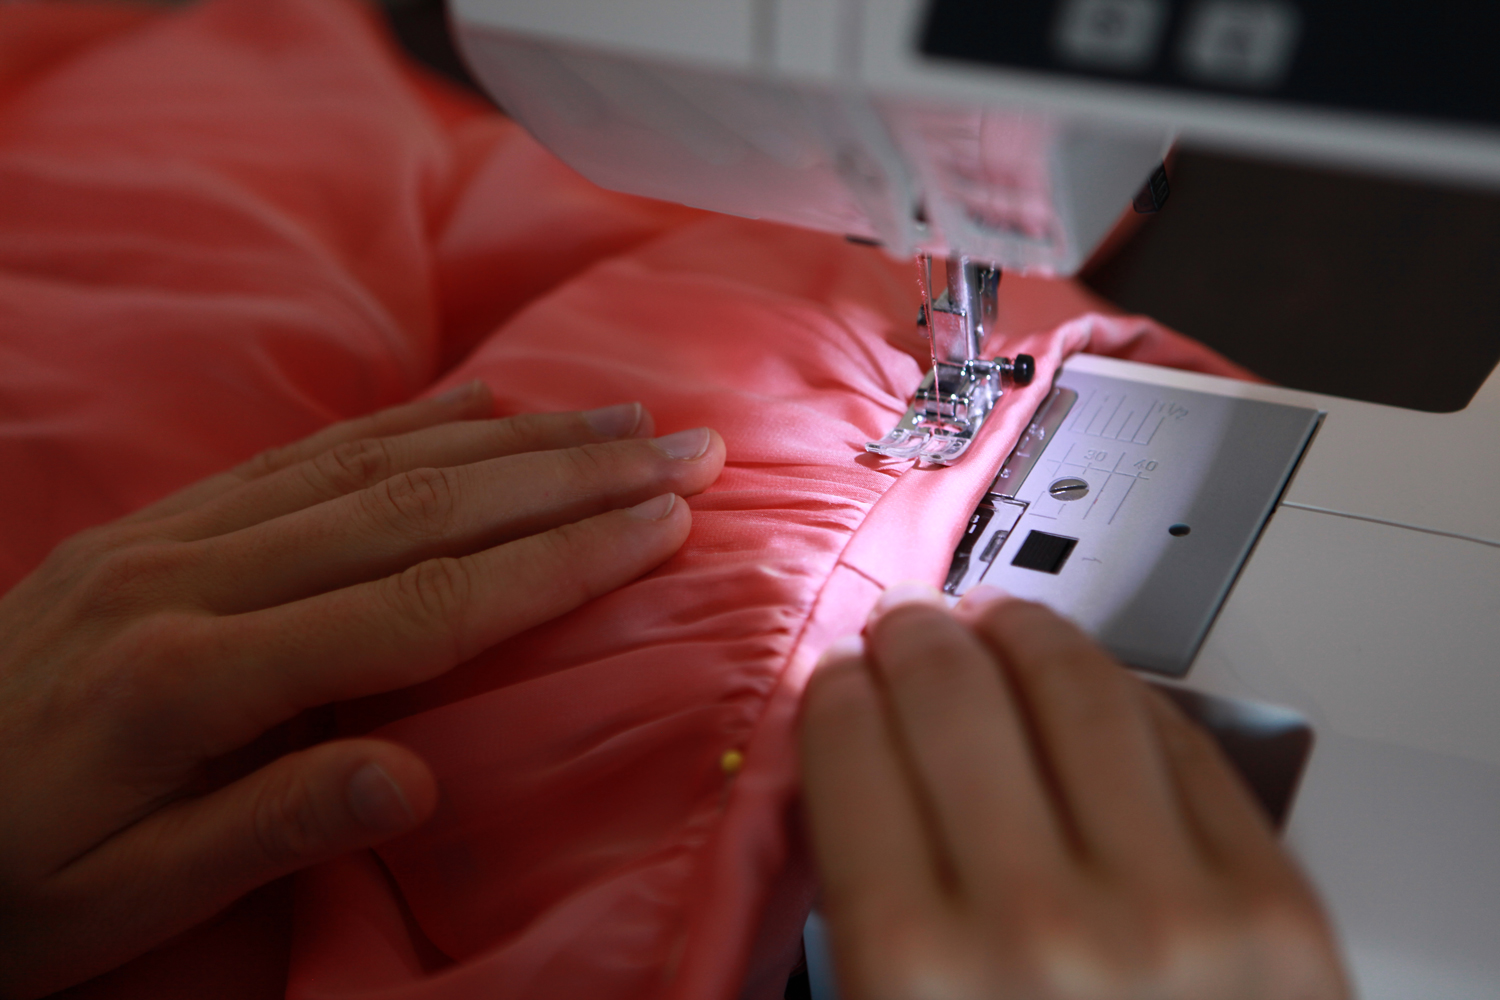 What I’m doing here is called a ditch-stitch. You can see I folded the section above in half, and sewed it down to the join outside – it’s so well hidden, so good trick for sewing on a join.
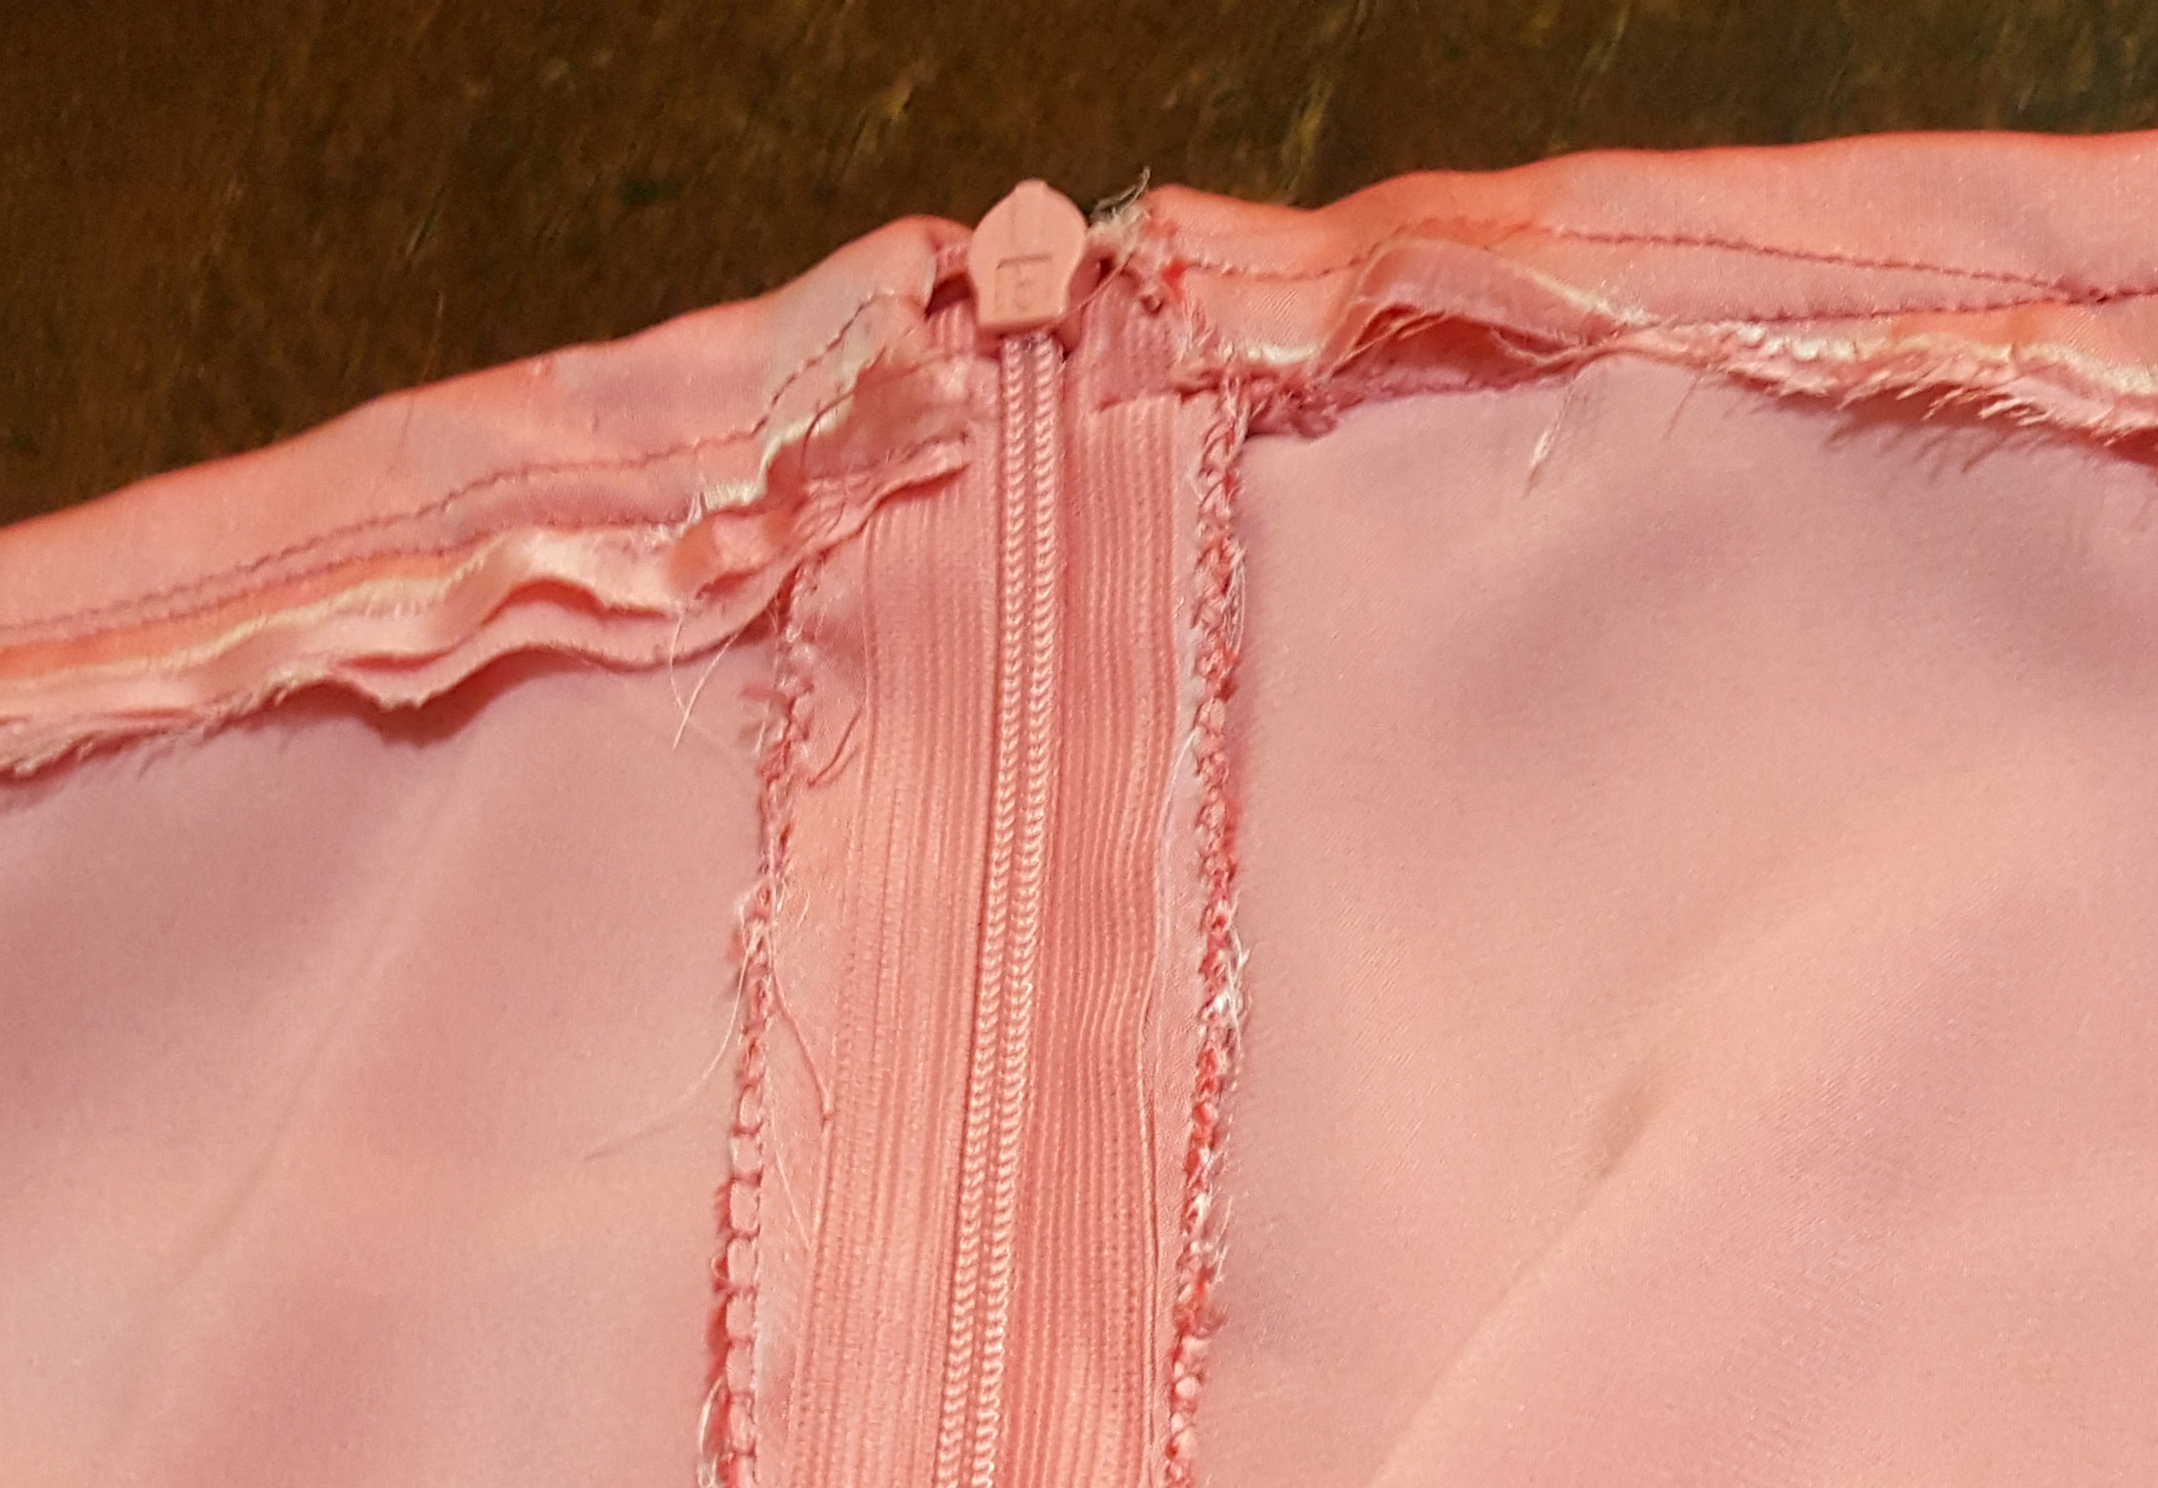 I tucked the ends in where the zip closes. I can see mum’s face right now – horrified by my VERY MESSY SEWING and the fact I’m sharing it with the everyone. Let’s be real for a second – sewing is mostly NOT about perfect (sorry mum). If you saw the outside and finished product, it does appear that way. You can see 2 sewing lines here – the one from the first pic, just keeping it together initially – and then two, the ditch stitch.
So, perfect not perfect. A bit like life, right?
Step 3: Finishing the length.
 There are 2 layers to adjust here. With both, I put on the skirt and got the boyfie to draw a line at the bottom to mark the length of the dress. I lay it on the ironing board, chalked it – and chopped it off. Mum’s pretty great with doing this so I knew if I measured from the bottom up – I would have an even length. Otherwise, it’s usually safe to measure top down. I used zig-zag stitch to bring them both up (again seeing horrified mother face) BUT, remember its a fancy dress – its not for everyday wear.
Aaand we’re done.

I have a few dresses in frocktober I will add length too, to make it more comfortable to wear – so tune in next week.
Until then… xxx
(ps, this was also a handmade lace top also, let me know if you would like a tutorial on this)